

I am going to do a series of posts detailing different rooms with maybe some "before" pictures to remind me how thankful I am of where we've come from! (I didn't do any this time, but I plan to in the future.)
I used to be very much a grey walls/stark white trim person. And I still like those colors, but for this house I have gravitated toward the warmer creams and ivory for my walls, along with medium grey for my trim. This color scheme is very rich, cozy and lends itself to my rustic French country (sortof) decorating style that also has a bit of industrial to go along.

Here are our large, beautiful, double front doors. I went with cream for the trim as well, because the exterior trim is the same color.

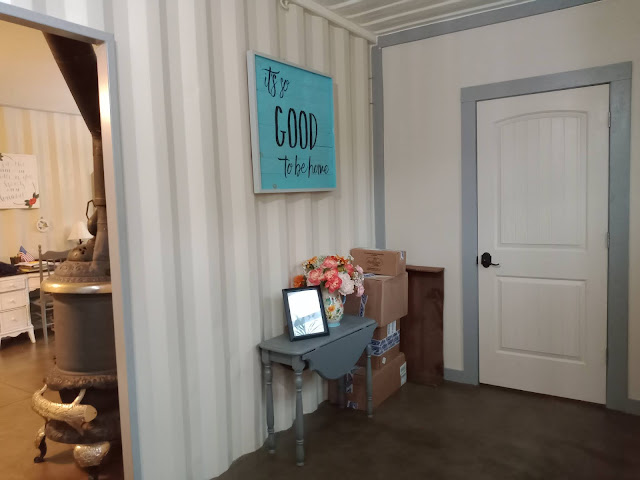
When you come into the house you are stopping into a container, and we didn't put drywall up on most of the interior container walls, to keep the shipping container look. The corrugation of the walls makes them almost look ruffled!
Disclaimer: I am still in the process of decorating our foyer, that's another one of those "projects" I was referring to earlier. Slowly but surely.
Looking right as you walk in the front door. The closed door is into my laundry room.
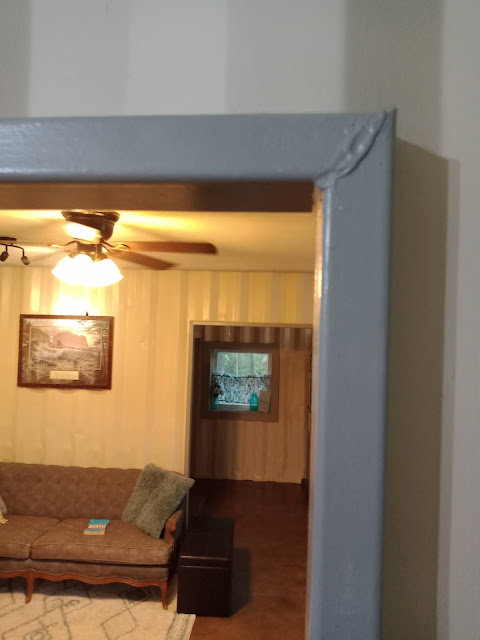
And looking to the left,

We used square steel tubing to frame several of the open doorways from the containers into the main rooms of the house.
And here's a shot of the floor.

For a long time we had what looked like just a shop light hanging in the foyer (industrial farm house?)
But here is the change:

Now I want to show you my laundry room. When we lived in the camper, we had a 20 foot shipping container that we used for laundry. And right across from the washer and dryer was a deep chest freezer, with a small walkway between. It was a little cramped and I was concerned that when we move in, it would be the same way. But instead of having a freezer in there, I put up shallow open shelving and that definitely bgives me more storage space while keeping the work area open for doing laundry.


We hung a piece of 1 inch(I think?) pipe from the ceiling to hang clothes from. And I used 2x6 boards from my brother's old deck for the shelving.
You can see I also stained the wood trim around the room.
All in all there is room to move around a little and get things done! With 6 people in the house, laundry is a full time job! I'm taking applications! Haha!
Thanks for looking! I will post more on the hall bath, and move into the living finish room next time!
Thanks for the great post on your blog, it really gives me an insight on this topic.
ReplyDeleteISO Container
Nice post, Learned a lot of things from your this article thanks for posting this. By the way if you are lookin for porta cabin then check out our website.
ReplyDelete